Turn an architecture photo into a blueprint infographic
Start with one recognizable view of a building. Keep the photograph as the base layer and place fine technical lines over the parts you want to explain. The Sydney Opera House example uses the white roof shells as its focal point.
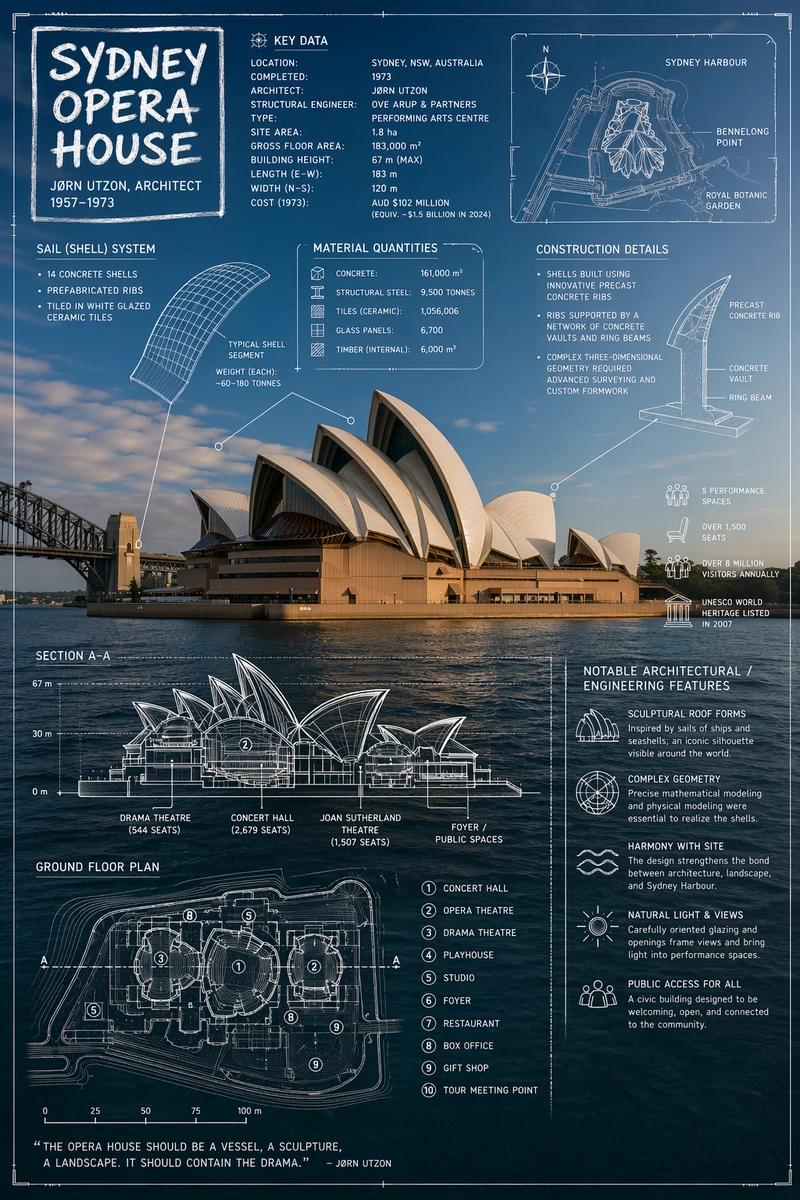
1. Choose the reference view
Use a photo you can reuse. Pick an angle with a clear roofline and space for labels. For Sydney, leave water or sky visible around the shells. Upload the reference to an image editor that accepts image input. A text-only generation may change the camera angle.
2. Add one layer of annotations
Replace the bracketed fields, then copy this adapted prompt. Supply any measurements yourself. A generated section or plan is a conceptual illustration.
Keep my reference photograph of [building] in its original perspective. Overlay fine white blueprint lines tracing [one recognizable feature]. Place the building name in a small hand-drawn box. Add two leader lines with these exact labels: [label one], [label two]. Reserve a clear corner for one conceptual section sketch. Keep the original setting visible. Use only the dimensions I supply. Leave other numerical labels blank.
3. Adapt the layout to the building
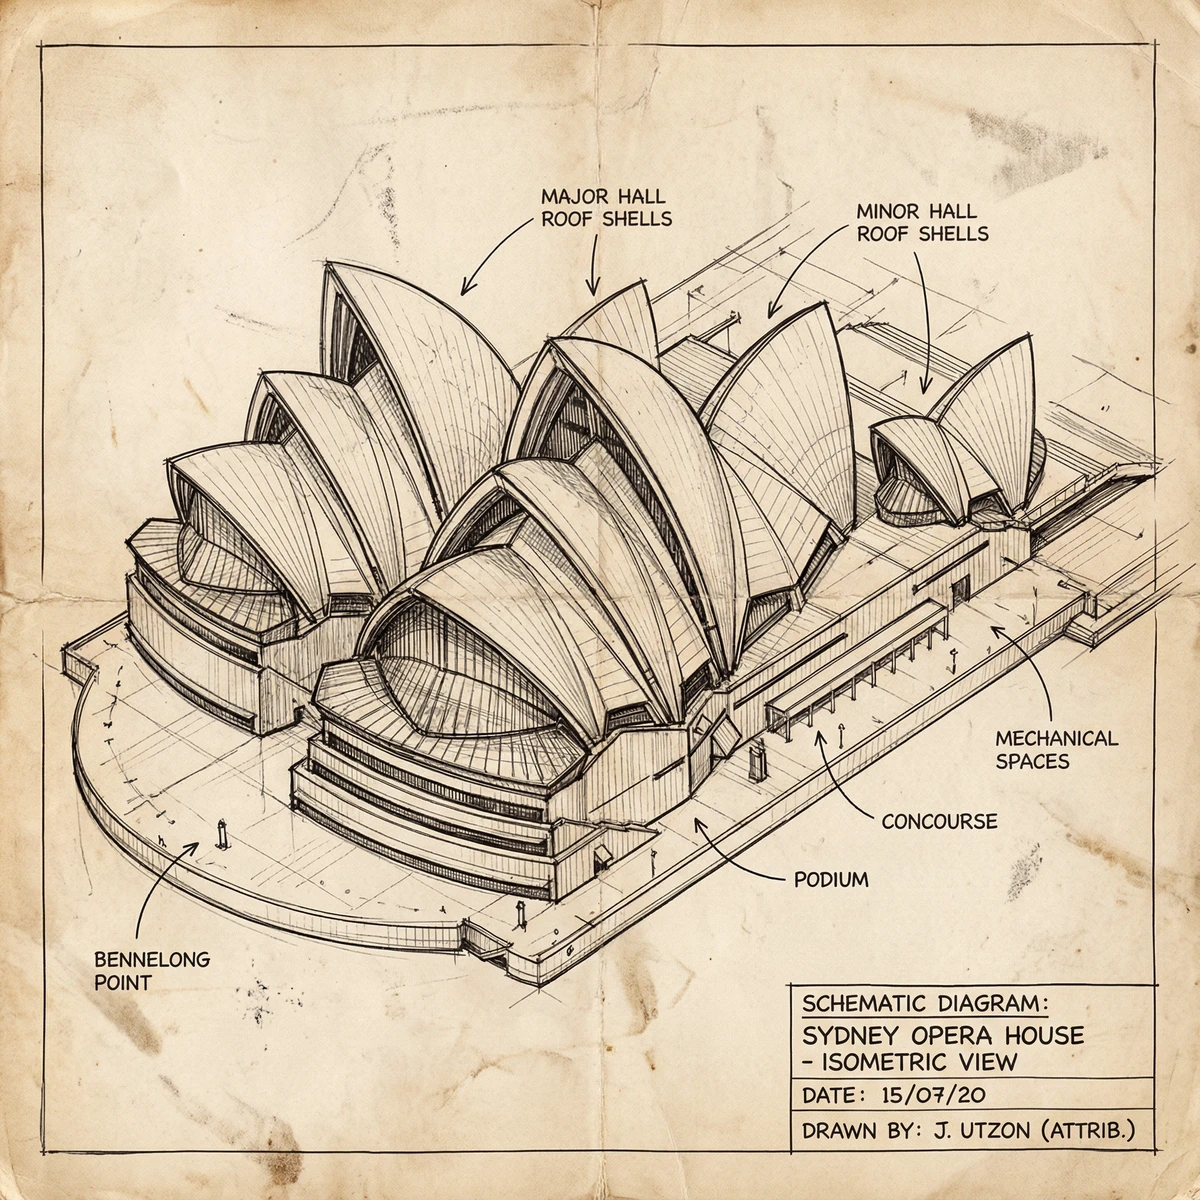
For a square sketch, the second Sydney work uses a hand-drawn isometric view. Choose this approach when the shape of the whole building matters more than matching the perspective of your photo.
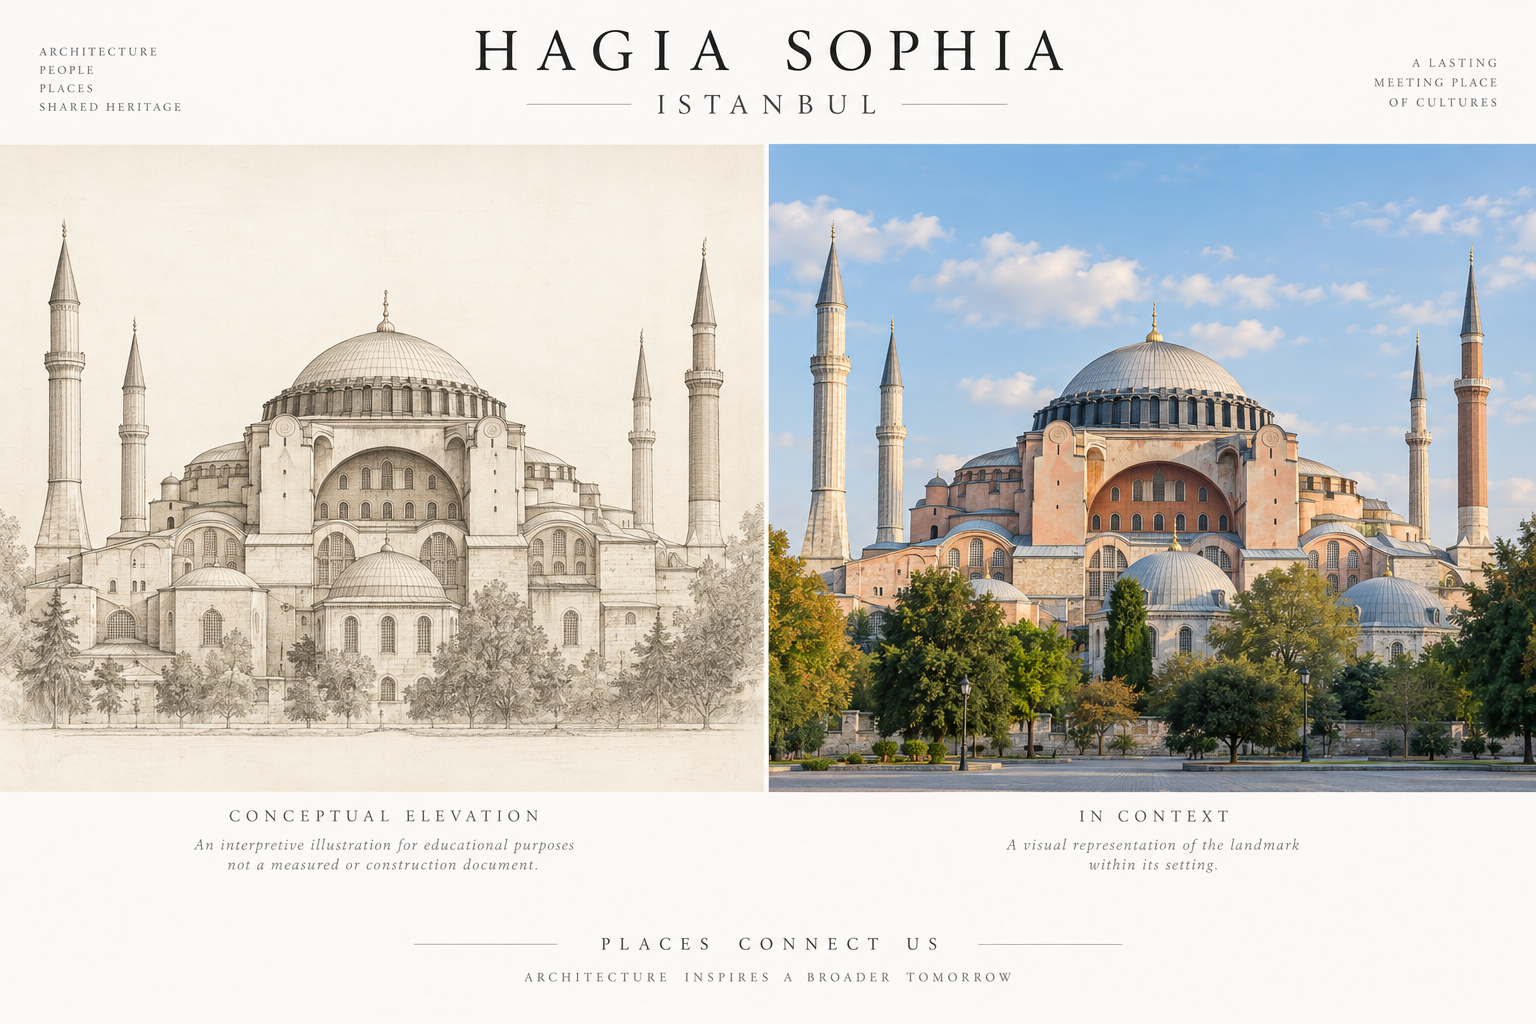
For a wide comparison, the Hagia Sophia prompt uses two panels in a 3:2 frame. Keep the dome at comparable scale in each panel, with an elevation on the left and a contextual view on the right. Its prompt asks for a generated context view. If you need a documentary comparison, place your own photograph in that panel.
Check the result
Compare the silhouette with the source photo, follow each leader line to its endpoint, and inspect the lettering at phone size. If labels obscure the subject, remove one callout before generating again. Add verified dimensions in your layout editor after generation.